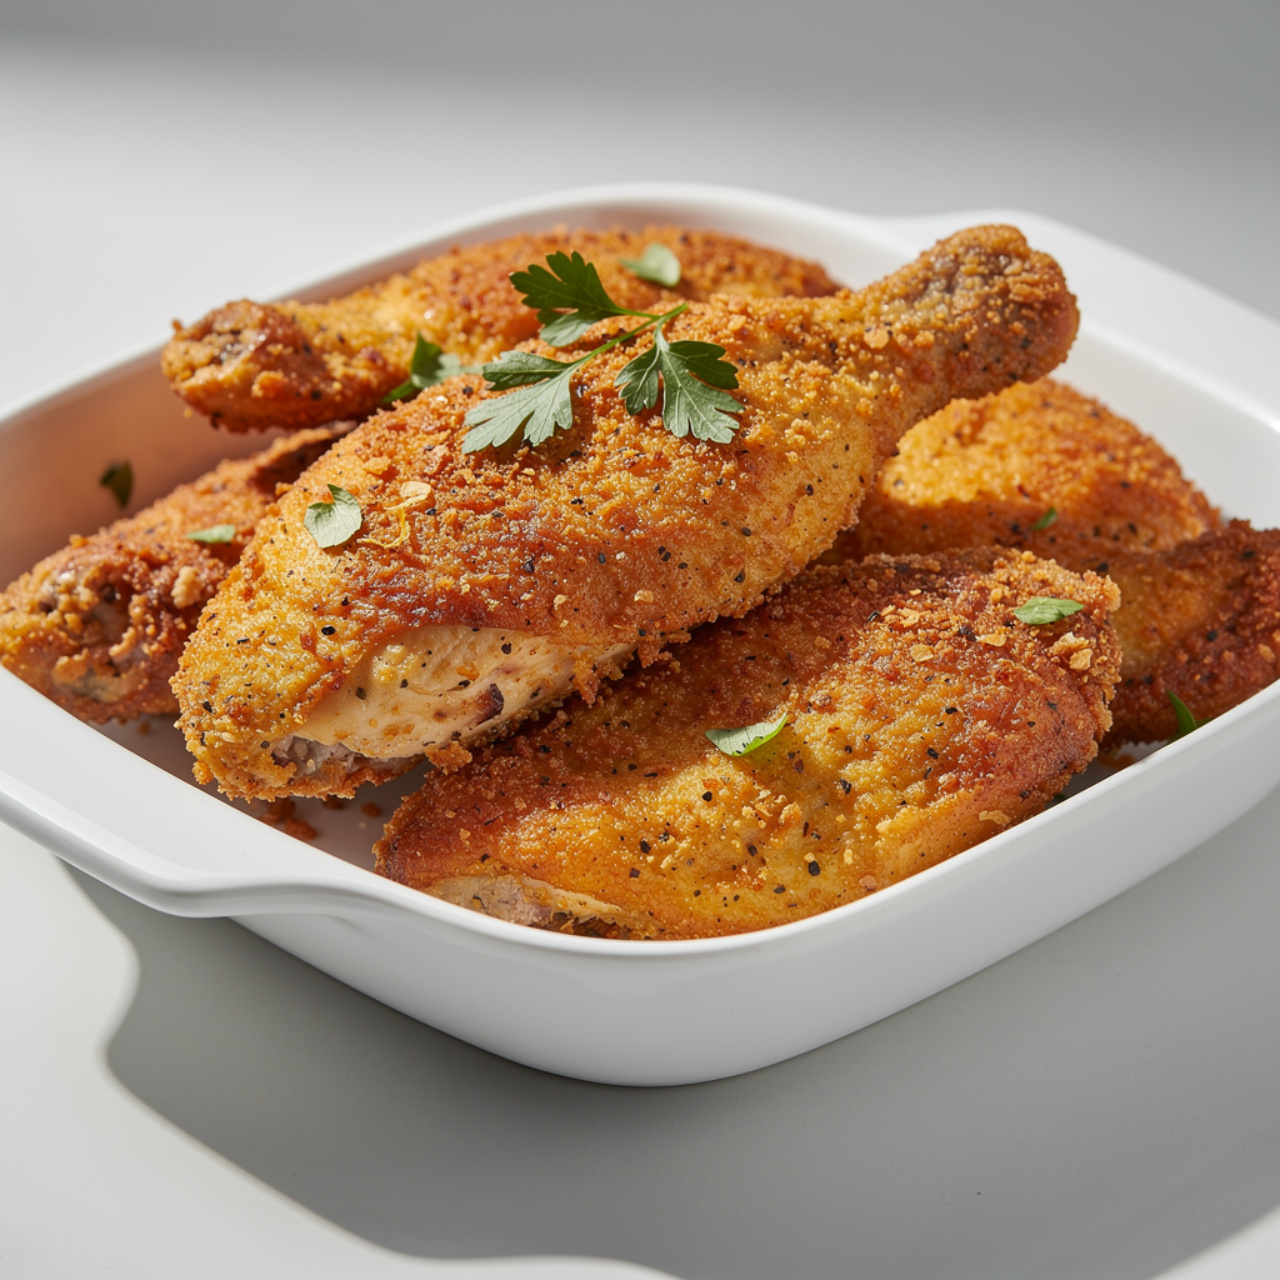
Crispy Homemade Breaded Chicken Tenders (Baked, Not Fried!)
These crispy homemade breaded chicken tenders are baked golden to perfection, making them the ultimate easy weeknight dinner the whole family will devour.

The Only Breaded Chicken Tender Recipe You Will Ever Need
Let's be honest: a truly crispy, golden, juicy breaded chicken tender is one of life's simple pleasures. Whether you're feeding picky kids on a Tuesday night or putting together a crowd-pleasing game day spread, these baked chicken breast tenderloins deliver every single time. No deep fryer, no greasy mess, just that satisfying crunch you've been craving.
This is a recipe born from years of testing. The secret is a combination of panko breadcrumbs and finely grated parmesan, a quick spray of olive oil, and a wire rack that lets the hot oven air do the work of crisping all sides at once. The result? Homemade breaded chicken that is genuinely better than anything you'd pull from a freezer bag.
Getting that perfect golden crust on baked chicken tenders comes down to a few key things: quality panko breadcrumbs, a proper three-dish breading station, and a good wire rack on your baking sheet. Having the right tools in your kitchen makes all the difference between a soggy coating and an incredibly crispy one.
Why This Recipe Works So Well
There are dozens of simple breaded chicken recipes out there, so what makes this one stand out? It all comes down to technique.
- Panko over regular breadcrumbs: Panko is coarser and airier, which means it toasts up far crispier in the oven.
- Parmesan in the coating: This adds a subtle savory depth and helps the coating brown beautifully.
- The wire rack method: Elevating the chicken off the baking sheet allows hot air to circulate underneath, so you get a crispy bottom without flipping constantly.
- Olive oil spray: A light mist over the tops right before baking mimics the browning effect of frying without submerging the chicken in oil.
Chef's Tip: Patting your chicken dry before breading is non-negotiable. Moisture is the enemy of a coating that sticks. Take 30 extra seconds with some paper towels and you will be rewarded.
Seasoning Variations Worth Trying
One of the best things about this homemade breaded chicken base is how easily you can adapt the flavor profile. Once you've mastered the core technique, the seasoning is your playground.
Spicy Buffalo Style: Add 1 tsp of cayenne pepper and 0.5 tsp of chili flakes to the panko mixture. Toss the finished tenders in a little warm buffalo sauce right before serving.
Italian Style: Swap the smoked paprika for dried Italian seasoning and add a teaspoon of dried basil. Serve alongside a warm marinara for dipping.
Honey Mustard Glazed: After baking, brush the tenders with a mix of 2 tbsp honey and 1 tbsp Dijon mustard and return to the oven for 2 minutes. Absolute perfection.
Pro Tip: If you're making these baked chicken breast tenders for a crowd, double the batch and use two wire rack-lined baking sheets at once. Rotate the pans top to bottom halfway through baking for even browning.
What to Serve With Breaded Chicken Tenders
These chicken tenderloin recipes for dinner pair beautifully with just about everything. Here are a few favorites:
- Classic sides: Creamy coleslaw, roasted sweet potato wedges, corn on the cob
- Dipping sauces: Honey mustard, ranch dressing, barbecue sauce, garlic aioli
- Lighter options: A crisp green salad, steamed broccoli, or a simple cucumber and tomato salad
- Crowd-pleaser combo: Serve on a platter with three dipping sauces and let everyone go to town
These also make an incredible chicken tender sandwich. Tuck a couple into a toasted brioche bun with pickles, shredded lettuce, and a swipe of spicy mayo for a weeknight dinner that feels genuinely special.
Ready to make the best crispy chicken tenders of your life? Here is the full step-by-step recipe:
Crispy Homemade Breaded Chicken Tenders (Baked, Not Fried!)
These crispy homemade breaded chicken tenders are baked golden to perfection, making them the ultimate easy weeknight dinner the whole family will devour.
Ingredients
- 1 1/2 lb chicken tenderloins, patted dry
- 1 1/2 cups panko breadcrumbs
- 1/2 cup all-purpose flour
- 2 large eggs, beaten
- 3/8 cup parmesan cheese, finely grated
- 1 tsp garlic powder
- 1 tsp smoked paprika
- 1/2 tsp onion powder
- 1 tsp kosher salt, divided
- 1/2 tsp black pepper, freshly ground
- 1 tbsp olive oil spray, or regular cooking spray
Instruction
Preheat your oven to 425 degrees F (220 degrees C). Line a large rimmed baking sheet with a wire rack and lightly coat the rack with cooking spray. This setup allows hot air to circulate all around the tenders for maximum crispiness.
Set up a three-station breading station: Place the flour seasoned with 0.5 tsp salt and 0.25 tsp pepper in a shallow dish. Add the beaten eggs to a second shallow dish. In a third dish, combine the panko breadcrumbs, grated parmesan, garlic powder, smoked paprika, onion powder, remaining salt, and remaining pepper. Stir to mix well.
Pat the chicken tenderloins completely dry with paper towels. Dry chicken is the secret to a coating that truly sticks.
Working one at a time, dredge each chicken tenderloin in the seasoned flour, shaking off any excess. Dip it into the beaten eggs, letting any extra drip off. Then press it firmly into the panko mixture, turning to coat every side generously. Place each breaded tender on the prepared wire rack.
Lightly spray the tops of all the breaded chicken tenders with olive oil spray. This is what gives them that gorgeous, deep golden color in the oven without frying.
Bake for 20 to 25 minutes, flipping once halfway through at the 12-minute mark, until the coating is deeply golden and crispy and the internal temperature of the chicken reaches 165 degrees F (74 degrees C).
Remove from the oven and let the tenders rest for 3 to 5 minutes before serving. Serve immediately with your favorite dipping sauces.
Equipment
- Large rimmed baking sheet
- Wire cooling rack
- 3 shallow dishes or bowls
- Instant-read meat thermometer
- Paper towels
- Cooking spray or olive oil spray
Notes
Storing and Reheating Your Chicken Tenders
If you somehow end up with leftovers (no judgment if you don't), these breaded chicken tender recipes reheat surprisingly well when you treat them right.
Refrigerator: Store in an airtight container for up to 3 days.
Freezer: Arrange cooled tenders in a single layer on a baking sheet, freeze until solid, then transfer to a zip-top freezer bag. They keep well for up to 2 months. Reheat straight from frozen in a 400 degree F oven for 15 to 18 minutes.
Reheating for crispiness: Always use the oven or air fryer. A 375 degree F oven for 6 to 8 minutes will bring them back to life. The microwave will turn that beautiful crispy coating soft and sad, so resist the temptation.
Whether this is your first attempt at best baked chicken tenders or you're a seasoned pro looking to refine your technique, this recipe has everything you need. Make it once and it will absolutely become a regular in your rotation.