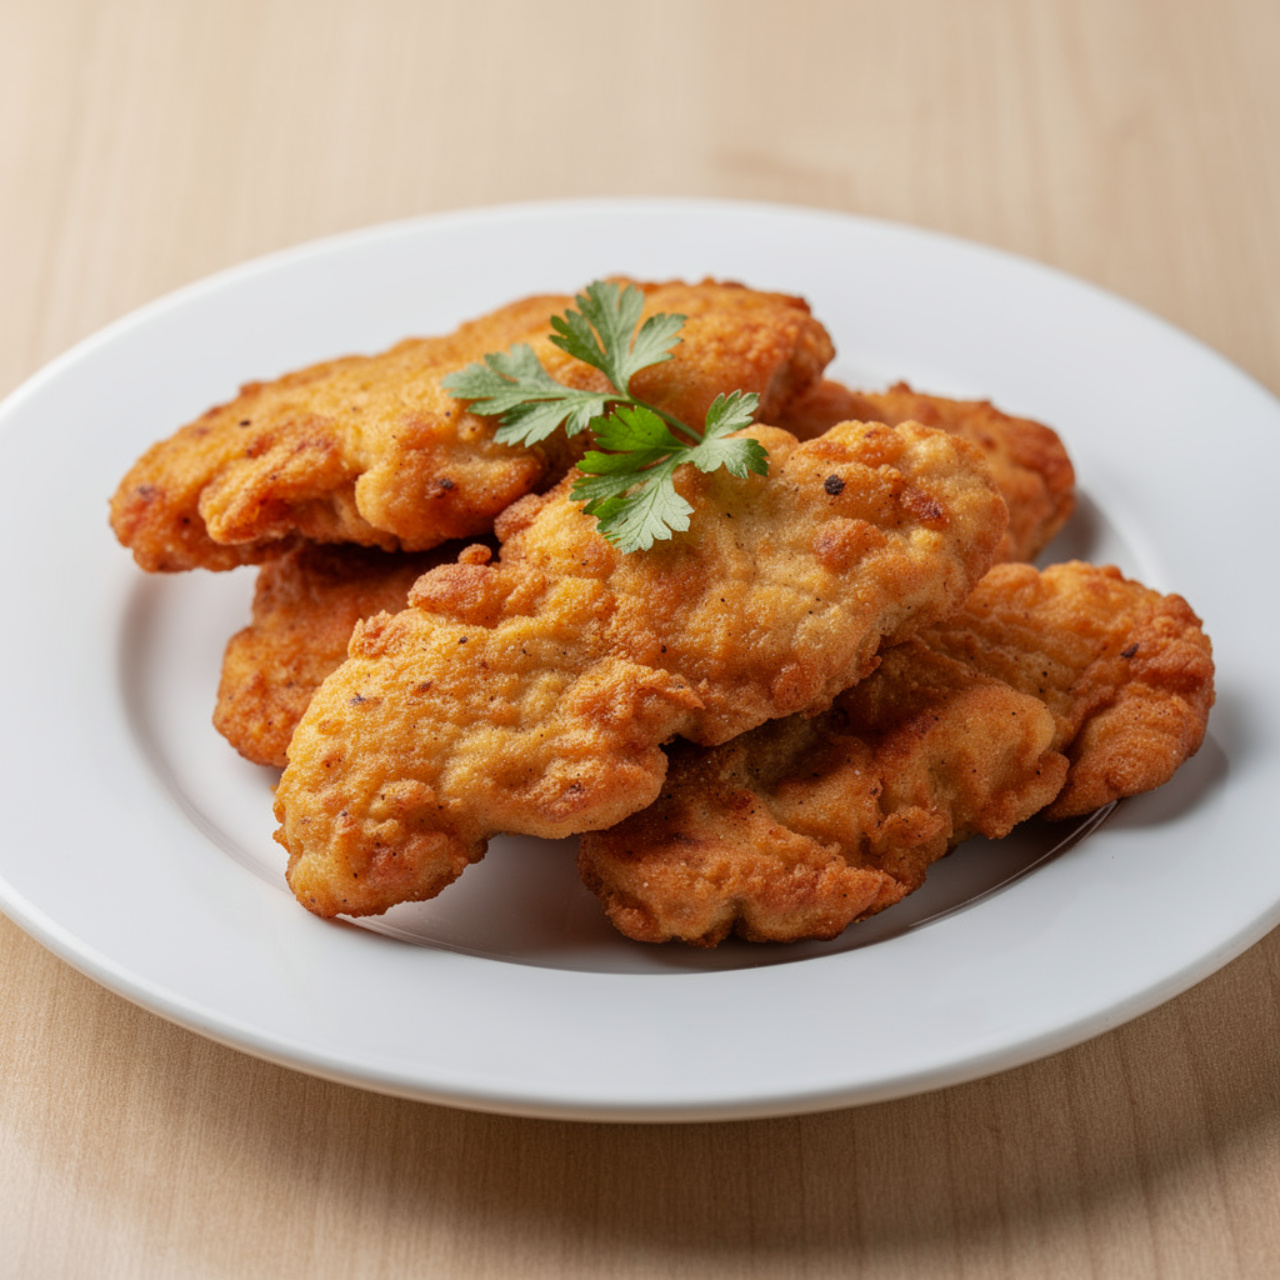
Crispy Homemade Chicken Tenders
These crispy homemade chicken tenders are juicy on the inside, golden and crunchy on the outside, and ready in under 30 minutes for the ultimate crowd-pleasing dinner.

The Crispy Chicken Tenders You Will Make on Repeat
There is a reason chicken tenders are beloved across every age group, every culture, and every dinner table. They are comforting, satisfying, endlessly dippable, and when made right, genuinely irresistible. These homemade crispy chicken tenders deliver everything you love about the restaurant version, but with real ingredients, no mystery fillers, and a crust so shatteringly crunchy you will wonder why you ever ordered takeout.
Whether you are pulling together a fast chicken dinner recipe after a long day, feeding a crowd on a weeknight, or looking for a lighter alternative to deep-frying, this baked version has you fully covered. The secret is a panko-parmesan coating seasoned with smoked paprika and garlic, pressed firmly onto the chicken and baked on a wire rack so every surface gets golden and crisp.
Before we get cooking, the right tools and ingredients make a real difference here. A proper wire rack set over a baking sheet is the single most important upgrade you can make for crispier baked chicken. Using quality panko breadcrumbs and a reliable instant-read thermometer will also take your results from good to outstanding.
Why This Recipe Works So Well
Most baked chicken tenders end up soft and pale. This recipe solves that with a few smart moves:
- Panko over regular breadcrumbs. Panko is coarser and lighter, which means more surface area to brown and more texture in every bite.
- Parmesan in the coating. It adds a savory, nutty depth and helps the crust brown beautifully without any frying.
- Wire rack baking. Lifting the tenders off the pan means hot air circulates underneath, eliminating the dreaded soggy bottom.
- A proper three-station breading line. Flour first, then egg, then panko. No shortcuts here. Each layer plays a role in building that thick, even crust.
Chef's Tip: Pat your chicken completely dry before breading. Any surface moisture will cause the coating to slide off during baking rather than cling and crisp up.
Perfect for Healthy Dinner Recipes and Picky Eaters Alike
These tenders are a fantastic base for so many meals. Serve them alongside roasted vegetables and you have a balanced, healthy dinner recipe the whole family will love. Slice them over a salad, tuck them into a wrap with peppers and greens, or pair them with chicken stuffed peppers on the side for a complete spread with bold flavors and satisfying textures.
If you are exploring Asian dishes for inspiration, try dipping these tenders in a sesame-soy sauce or a sweet chili glaze. The neutral, savory coating plays beautifully with bold dipping sauces from any cuisine.
For those following a lower-carb approach, you can easily swap the panko for crushed pork rinds or almond flour to make a version that fits keto-friendly guidelines without sacrificing that satisfying crunch.
Tips for the Crispiest Results
- Do not skip the wire rack. It is the single biggest upgrade you can make.
- Press the coating firmly onto each tender. Do not just dip and drop.
- A light drizzle of olive oil over the tops before baking encourages deep golden color.
- Flip exactly once, at the halfway mark, for even browning on both sides.
Ready to make it? Here is the full step-by-step recipe:
Crispy Homemade Chicken Tenders
These crispy homemade chicken tenders are juicy on the inside, golden and crunchy on the outside, and ready in under 30 minutes for the ultimate crowd-pleasing dinner.
Ingredients
- 1 1/2 lb chicken breast tenderloins, or chicken breasts sliced into strips
- 1/2 cup all-purpose flour
- 2 large eggs, beaten
- 1 cup panko breadcrumbs
- 1/4 cup grated parmesan cheese, finely grated
- 1 tsp garlic powder
- 1 tsp smoked paprika
- 1/2 tsp onion powder
- 1 tsp salt
- 1/2 tsp black pepper, freshly ground
- 2 tbsp olive oil or cooking spray, for drizzling or spraying before baking
Instruction
Preheat your oven to 425 degrees F (220 degrees C). Line a large baking sheet with a wire rack and lightly coat it with cooking spray.
Set up a three-station breading line: one shallow bowl with flour, one with beaten eggs, and one with panko breadcrumbs mixed together with the parmesan, garlic powder, smoked paprika, onion powder, salt, and black pepper.
Pat the chicken tenders dry with paper towels. This step is crucial for getting that crispy coating to stick.
Working one at a time, dredge each tender in flour and shake off the excess, then dip it fully in the beaten egg, and finally press it firmly into the seasoned panko mixture, coating all sides evenly.
Arrange the breaded tenders in a single layer on the prepared wire rack. Drizzle or spray lightly with olive oil across the tops.
Bake for 18 to 20 minutes, flipping once halfway through, until the coating is deep golden brown and the internal temperature of the chicken reaches 165 degrees F (74 degrees C).
Let the tenders rest for 2 to 3 minutes before serving. Pair with your favorite dipping sauces and enjoy immediately.
Equipment
- Large baking sheet
- Wire rack
- Three shallow bowls or dishes
- Instant-read meat thermometer
- Paper towels
- Cooking spray or pastry brush
Notes
Serving, Storing, and Variations
These chicken tenders are best served hot and fresh from the oven with classic dipping sauces like honey mustard, ranch, or barbecue. For a fun spread, set out three or four sauces and let everyone mix and match.
Leftovers keep well in the fridge for up to 3 days. Skip the microwave and reheat in an air fryer or oven at 375 degrees F for 4 to 5 minutes to bring the crunch back to life.
For a twist, season the coating with Italian herbs and serve alongside marinara for a chicken dish with a whole new personality. However you serve them, these tenders are the kind of recipe that earns a permanent place in your weeknight rotation.